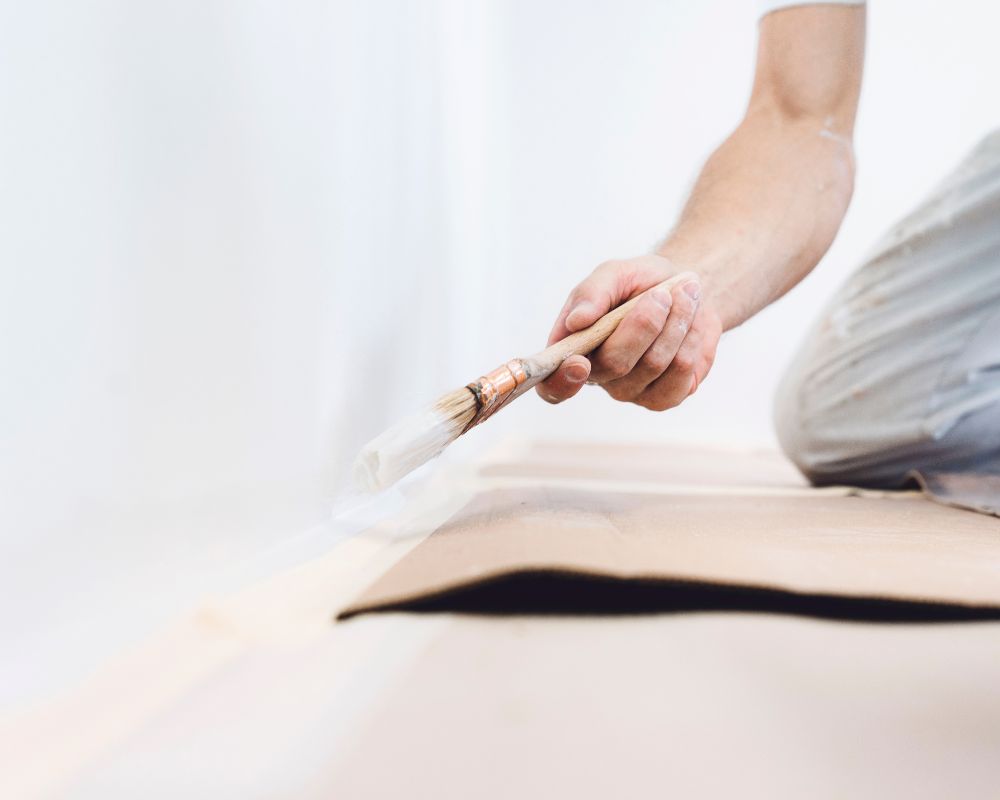
Welcome to another exciting DIY painting guide! Today, we’re diving into the nitty-gritty of painting – specifically, how to master those often-tricky wall edges. Whether you’re a seasoned DIY enthusiast or a novice with a paintbrush, this guide will equip you with the knowledge and skills to achieve clean and professional-looking edges every time.
Gathering Your Supplies
Before you dive into your painting project, it’s crucial to have all the necessary supplies on hand. Here’s a quick checklist to ensure you’re prepared:
- Painter’s Tape: This is your best friend when it comes to keeping those edges sharp and clean.
- Angled Paintbrush: Choose a high-quality angled brush to make reaching corners and edges a breeze.
- Primer: Don’t skip this step! Primer helps the paint adhere better and ensures consistent color.
- Paint: Obviously, the star of the show. Opt for a high-quality paint for the best results.
- Small Roller: For larger areas near the edges where a brush might be cumbersome.
- Drop Cloths: To protect your floors from accidental paint splatters.
- Damp Cloth: Essential for wiping up any mistakes or drips while they’re still wet.
Preparing the Area
- Clear the Space: Move furniture away from the walls and cover the remaining items with drop cloths. The last thing you want is an accidental paint splatter on your favorite armchair.
- Clean the Walls: Dust and debris can affect the paint’s finish. Wipe down the walls with a damp cloth to ensure a smooth surface.
- Apply Painter’s Tape: Carefully apply painter’s tape along the edges you want to keep paint-free. Make sure it’s firmly pressed against the wall to prevent any bleeding.
Priming the Edges
Priming might seem like an extra step, but trust us, it’s worth it:
- Cutting In: This term refers to using a brush to paint the edges and corners first. Dip your angled brush into the primer and tap off the excess. Start about an inch away from the edge and gradually work your way towards it. This technique helps you avoid getting primer on the adjacent surface.
The Painting Process
Now comes the fun part – painting those edges:
- Load the Brush: Dip your angled brush into the paint, again tapping off the excess. A well-loaded brush reduces drips and ensures even coverage.
- Master the Angle: Hold the brush at a slight angle to the wall, with the shorter bristles on the side you’re painting. This allows for better control and precision.
- Slow and Steady Wins: Take your time. Slow and steady strokes are key to achieving neat edges. Start from the taped line and work your way inwards.
- Blend, Blend, Blend: To avoid a stark contrast between the edged area and the rolled area, lightly feather the paint toward the center. This blending technique creates a seamless transition.
- Don’t Overwork It: Once you’ve painted an edge, resist the urge to keep brushing over it. Overworking the paint can lead to a messy finish.
Removing the Tape
Wait until the paint is completely dry before removing the painter’s tape:
- Peel Carefully: Start by gently peeling off the tape at a 45-degree angle. If the paint feels tacky, wait a bit longer.
Final Touches
Step back and admire your work! You’ve successfully conquered those tricky edges, and your wall looks as good as new. Remember, practice makes perfect, so don’t be discouraged if your first attempt isn’t flawless. With time, you’ll refine your technique and become a painting pro.
And there you have it – a comprehensive guide on how to paint edges of a wall like a pro. Armed with the right tools, a little patience, and the techniques we’ve covered, you’re ready to transform your space one brushstroke at a time. Happy painting!
So, whether you’re tackling a small room makeover or giving your entire home a fresh look, mastering the art of painting edges will elevate your DIY game. Get your supplies ready, prep the area, and dive in with confidence. Your walls are waiting to shine!


